Here are some basic tips that You should observe when using Revit to export IFC files, either ones containing pure Architectural Models or ones that include MEP systems, such as pipes, ventilation ducts or other devices. Follow the steps below, carefully considering each option as directed.
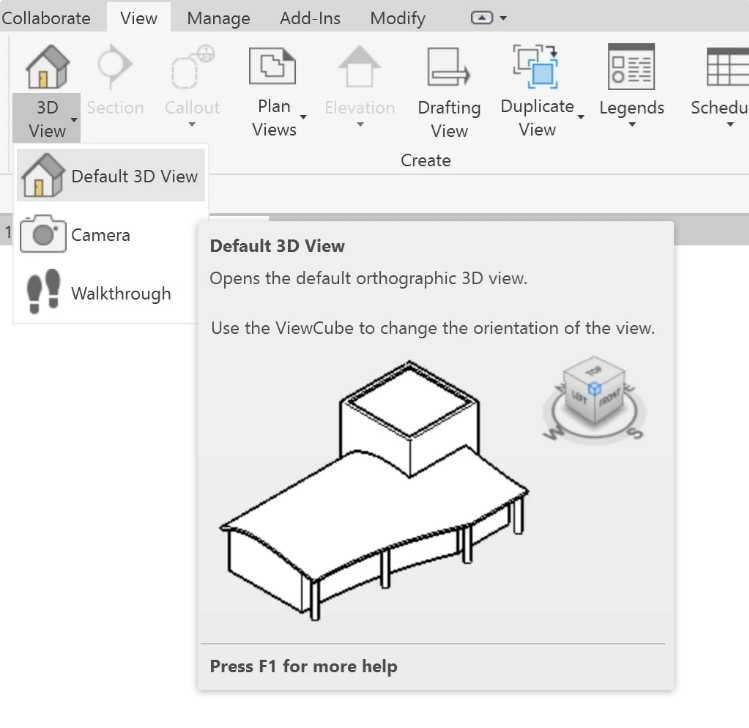
- Open the model and make sure that You have one of the 3D Views selected, such as the default {3D} view. In case You can not find such a view in the Project Browser or really do not have one defined, You can create a new one using the 3D View command found on the View Ribbon Tab:
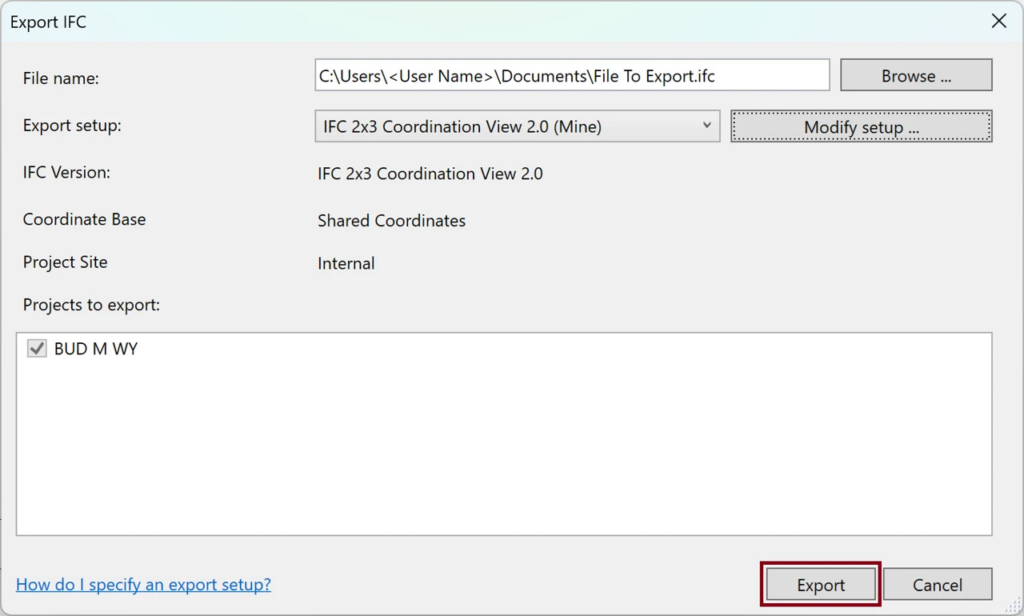
- To save Your model as an IFC file, select File / Export and choose IFC:

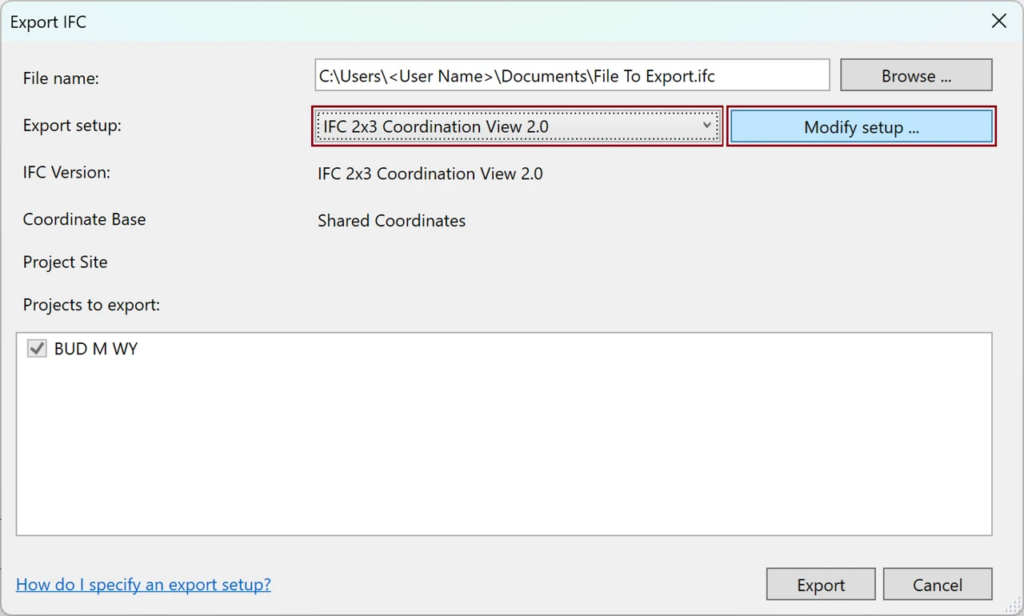
- Specify the path and File Name where You wish to save the IFC file, select the “IFC 2×3 Coordination View 2.0” item for the Export Setup and press the Modify Setup button to start configuring Your export setup options:
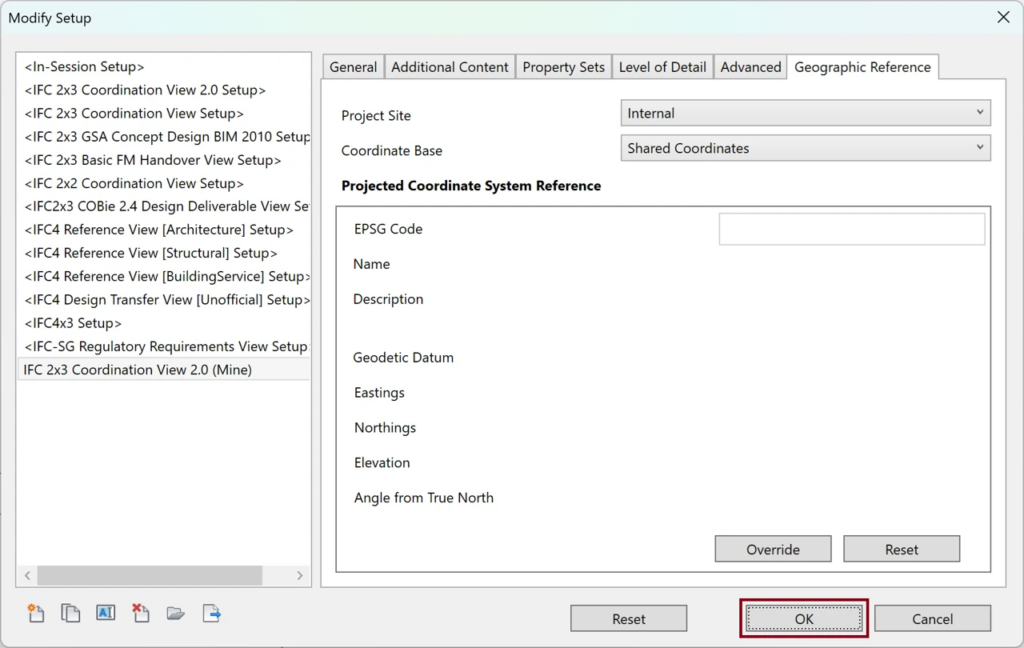
- In the window that appears, select the Create New Setup button (located on the bottom left corner) while the “IFC 2×3 Coordination View 2.0” item is selected in the list. This will create Your own, custom setup based on the default options.
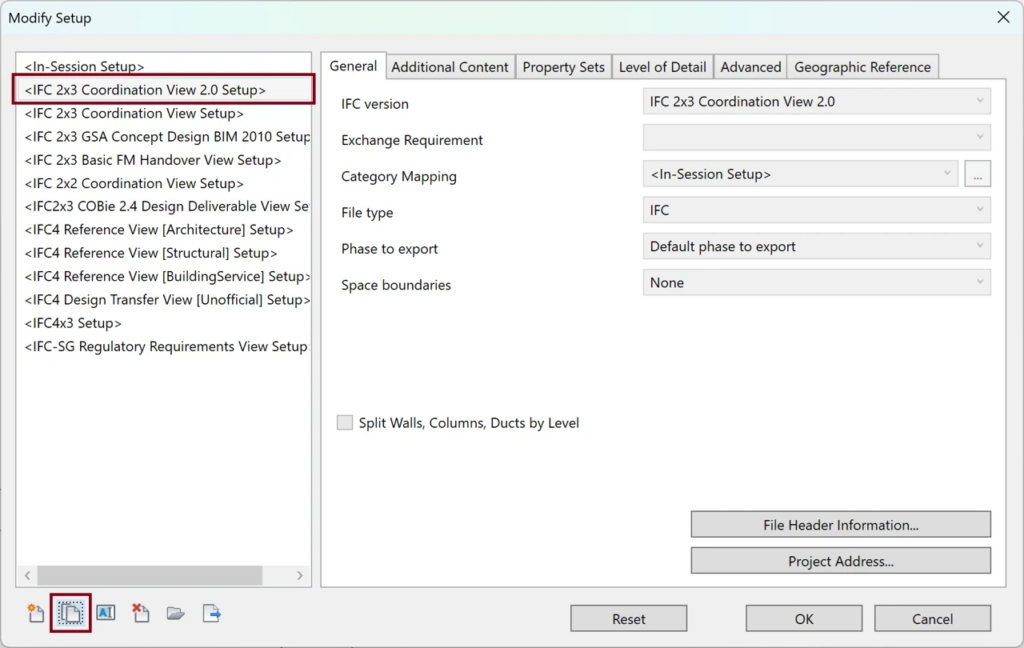
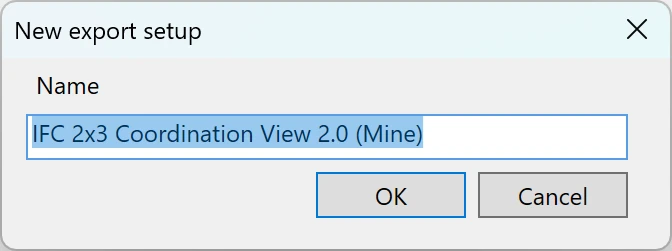
- Give your custom setup a name, such as “IFC 2×3 Coordination View 2.0 (Mine)”.
- Now, configure export options; we recommend the following changes:
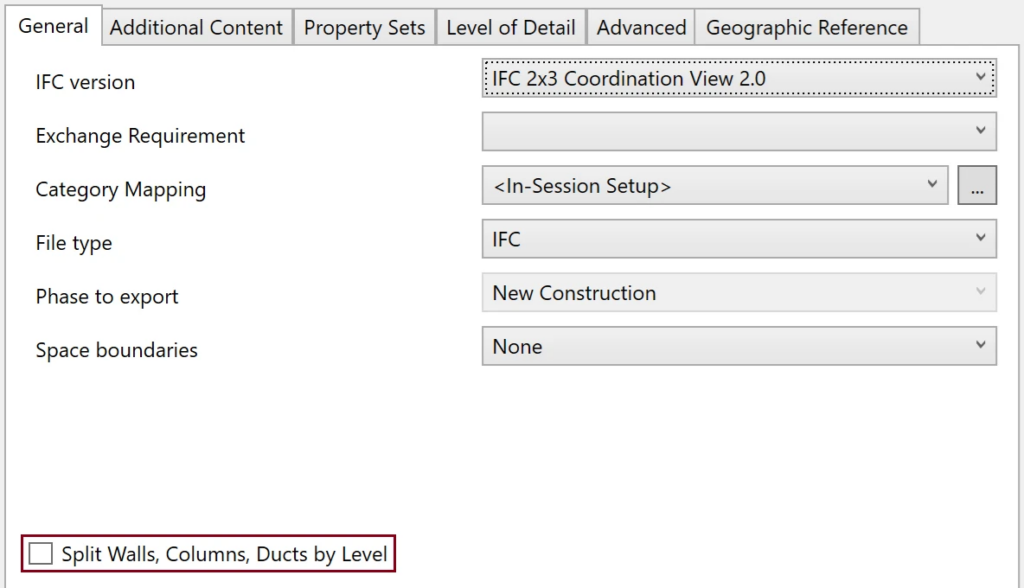
You may want to consider selecting the option indicated above; it will split elements such as (curtain) walls and columns, resulting in much cleaner separation between the different Floors.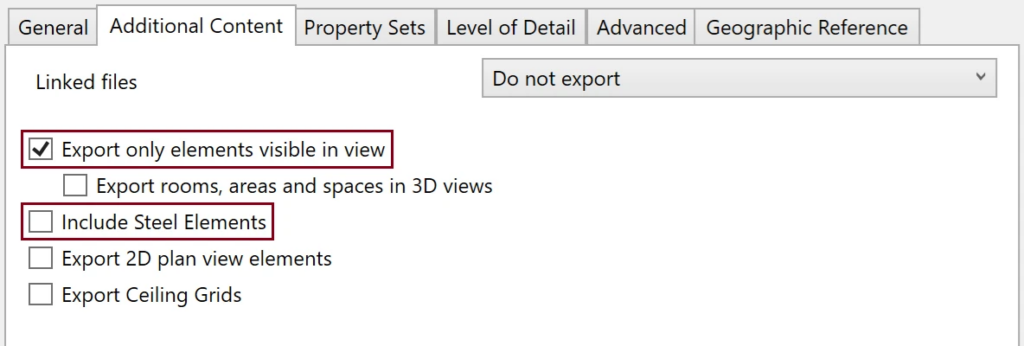
Export only the visible elements, without rooms, areas or spaces, unless You will actually need them; it is also recommended to exclude any steel elements to avoid all unnecessary clutter.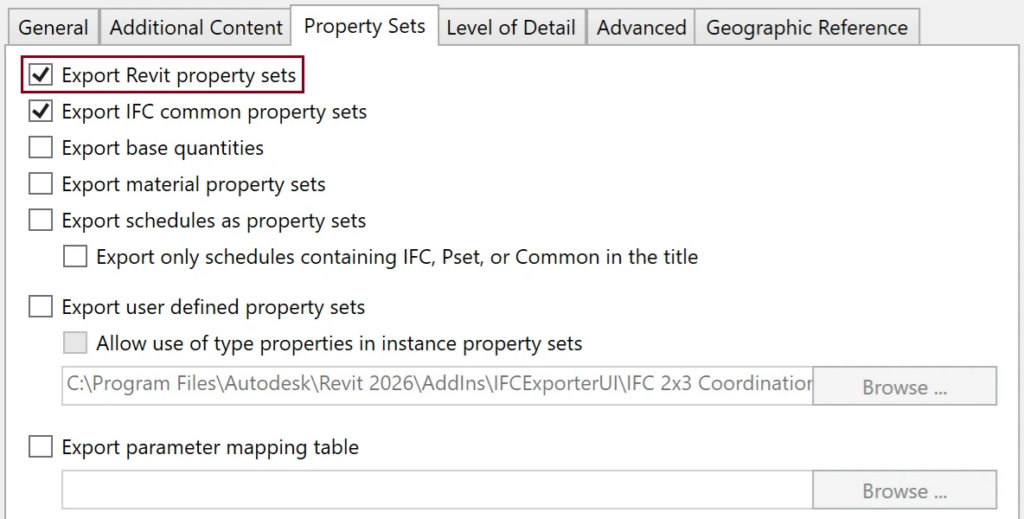
Make sure to include the Revit property sets, not just the IFC common ones.
It is best to leave the level of detail on the “Low” setting; while higher settings can be nice for visualization purposes, they will result in larger IFC files that load and process much slower, without bringing any real additional value.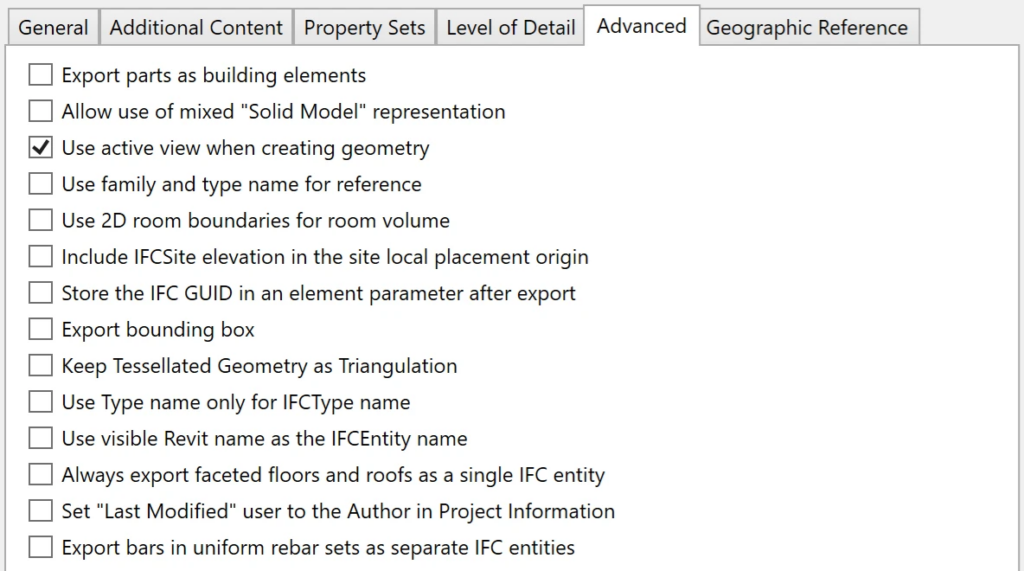
You may want to experiment with some of the more advanced settings, depending on how exactly You want the different building element types in Your model to appear in the generated IFC file. - Accept the changes to Your setup by pressing OK in the Modify Setup window.
- Finally press the Export button in the main Export IFC window to create Your IFC file.